Welcome to the ShareAI Windows App installation guide! Follow these simple steps to set up ShareAI and start sharing your computing power effortlessly.
Step 1: Download the Latest Version #
Click the button below to download the latest version of the ShareAI Windows App:
Step 2: Open the Installer #
Once the download is complete:
- Locate the downloaded file (
ShareAI.msi). - Double-click to open it.
- A security warning may appear (like the image below).
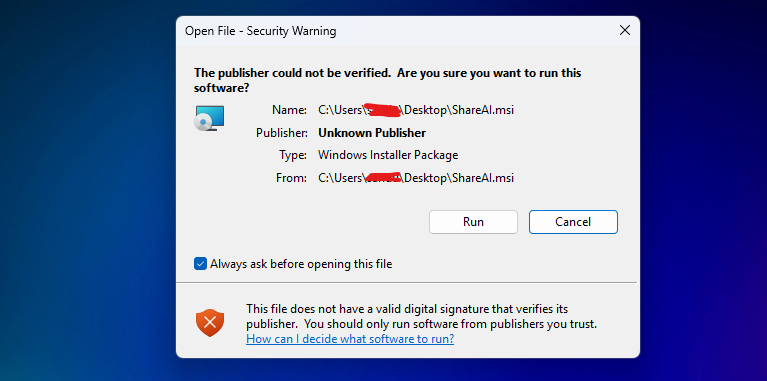
👉 Click “Run” to proceed.
(Windows may show a warning because the app is not yet digitally signed. We are working on signing future versions to enhance security.)
Step 3: Follow the Installation Steps #
After clicking “Run,” the ShareAI Setup Wizard will guide you through the installation process.
- Click Next to continue.
- In the Custom Setup section, you can change the installation path if needed.
- Click Next, then Install to begin the installation.
Step 4: Complete the Installation #
Once the installation finishes:
✅ Click Finish to close the installer.
✅ You can now find ShareAI in your Start Menu or Desktop.
🎉 You’re all set! Open the app and start sharing your computing power.
Need Help? #
If you run into any issues during installation, visit our Support Hub or contact us for assistance. 🚀


