

Make your first API request
Create a ShareAI API key, choose an available model and send a chat request from your server with Bearer authentication.
On this page
Start here when your application will make requests using an API key from your own ShareAI workspace. You need a ShareAI account, an active key and access to the model you want to run.
1. Create an API key#
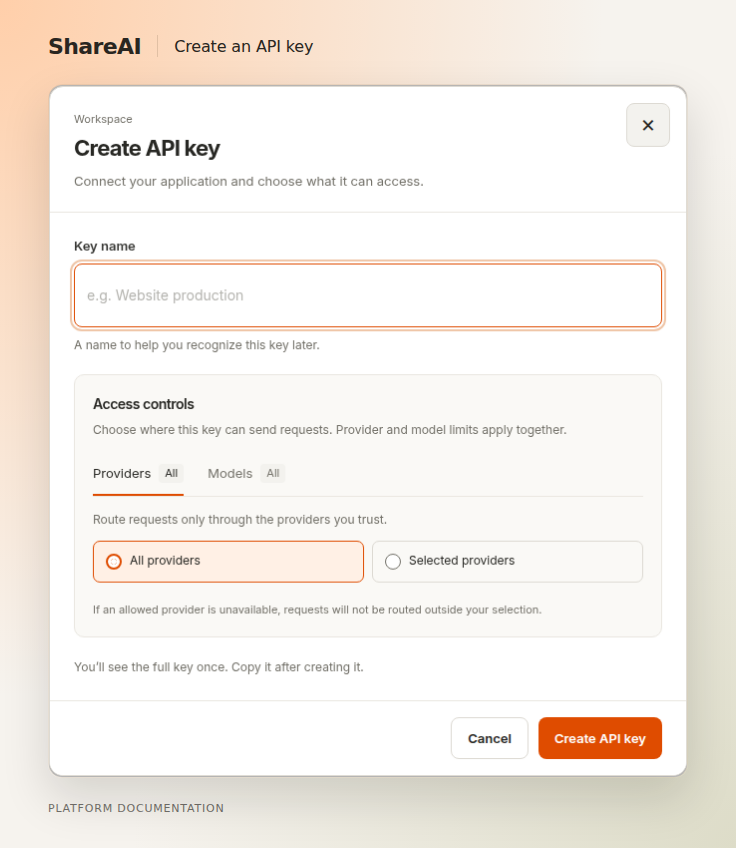
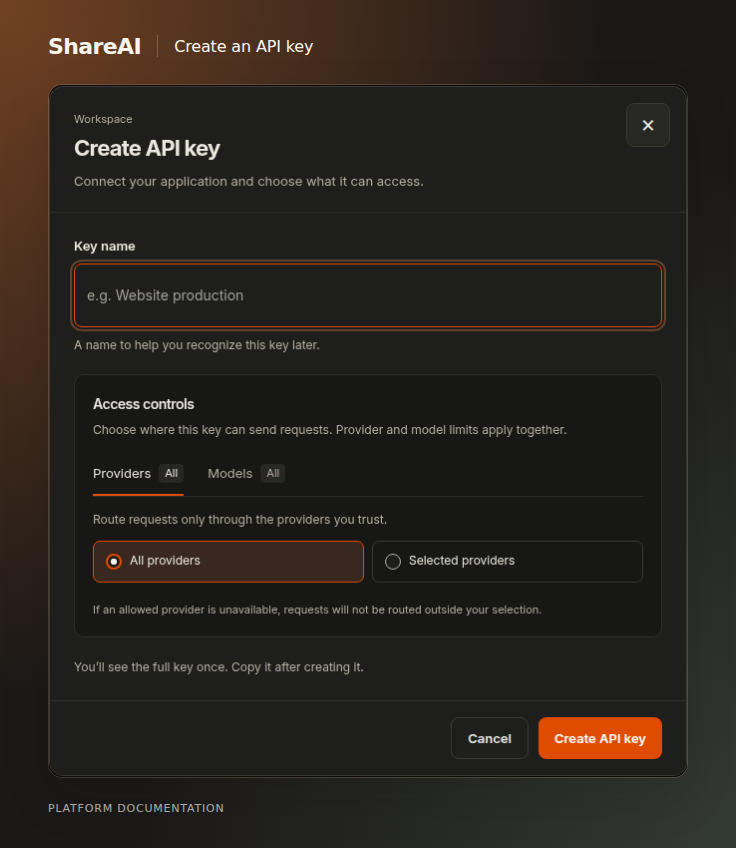
Open ShareAI Console and select the workspace that will own the key and usage. Open API Keys, choose Create API key, give the key a recognizable name and save the secret in your server environment.
2. Choose a model#
Open Models and copy the exact model identifier shown there. Check current availability and the model/provider restrictions on your key. An identifier in an old tutorial does not guarantee that capacity is available today.
3. Send the request#
https://api.shareai.now/api/v1/chat/completionsGenerate a response using an available model.
- Base URL
https://api.shareai.now- Authentication
- Bearer API key
Replace MODEL_IDENTIFIER with your selected identifier. Set SHAREAI_API_KEY in your environment before running the example.
cURL
curl --fail-with-body --request POST \
  "https://api.shareai.now/api/v1/chat/completions" \
  -H "Authorization: Bearer $SHAREAI_API_KEY" \
  -H "Content-Type: application/json" \
  --data '{
  "model": "MODEL_IDENTIFIER",
  "messages": [
    {
      "role": "user",
      "content": "Explain what ShareAI does in one sentence."
    }
  ],
  "stream": false
}'
Python
import json
import os
import urllib.request

headers = {"Authorization": "Bearer " + os.environ["SHAREAI_API_KEY"]}
headers["Content-Type"] = "application/json"
payload = {'model': 'MODEL_IDENTIFIER', 'messages': [{'role': 'user', 'content': 'Explain what ShareAI does in one sentence.'}], 'stream': False}
data = json.dumps(payload).encode()
request = urllib.request.Request('https://api.shareai.now/api/v1/chat/completions', data=data, headers=headers, method='POST')
with urllib.request.urlopen(request, timeout=60) as response:
    print(json.load(response))
TypeScript
const url = "https://api.shareai.now/api/v1/chat/completions";
const headers: Record = {
  Authorization: `Bearer ${process.env.SHAREAI_API_KEY}`,
};
headers["Content-Type"] = "application/json";
const payload = {
  "model": "MODEL_IDENTIFIER",
  "messages": [
    {
      "role": "user",
      "content": "Explain what ShareAI does in one sentence."
    }
  ],
  "stream": false
};
const response = await fetch(url, { method: "POST", headers, body: JSON.stringify(payload) });
if (!response.ok) throw new Error(`${response.status}: ${await response.text()}`);
console.log(await response.json());
4. Read the result#
For a successful non-streaming request, check that done is true and read the assistant message from message.content. Check both the HTTP status and any error object in the body before treating it as a successful completion. A no-device result can currently arrive as an error object with HTTP 200.
If the request fails#
| Status | Next step |
|---|---|
| 401 | Check the key, workspace and Authorization header. |
| 402 | Check available credits or the applicable balance. |
| 403 | Check allowed models and providers. |
| 429 | Wait for Retry-After when present, then retry with a bounded delay. |
| 503 | Check current capacity or service availability; keep a retry limit. |
Next steps#
Chat request and response reference explains the supported body. If each customer should authorize their own account, follow application OAuth.
Last updated September 15, 2026