

Configure application SSO
Set up a ShareAI Builder application’s confidential SSO client, callback URLs, consent branding and testing access.
On this page
SSO connects a customer’s selected ShareAI account to your application. Configure the client before integrating the authorization flow so the customer sees the correct application identity and policy links.
- Open Builder and select your application.
- Open the SSO configuration and create the client for this integration.
- Set a clear application title and logo.
- Register exact HTTPS callback URLs and add Terms, Privacy and a data-deletion link or callback destination you operate.
- Save the client secret on the backend and configure the client ID in your integration.
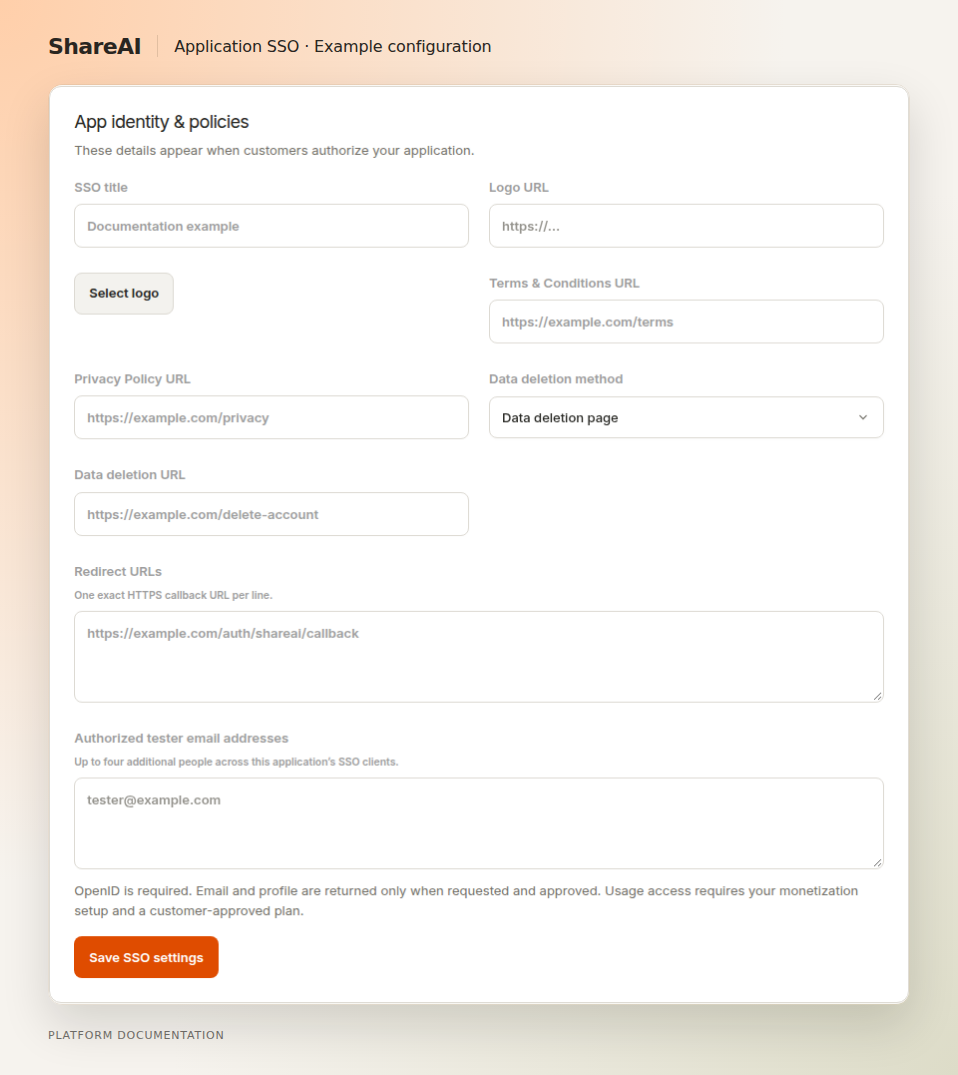
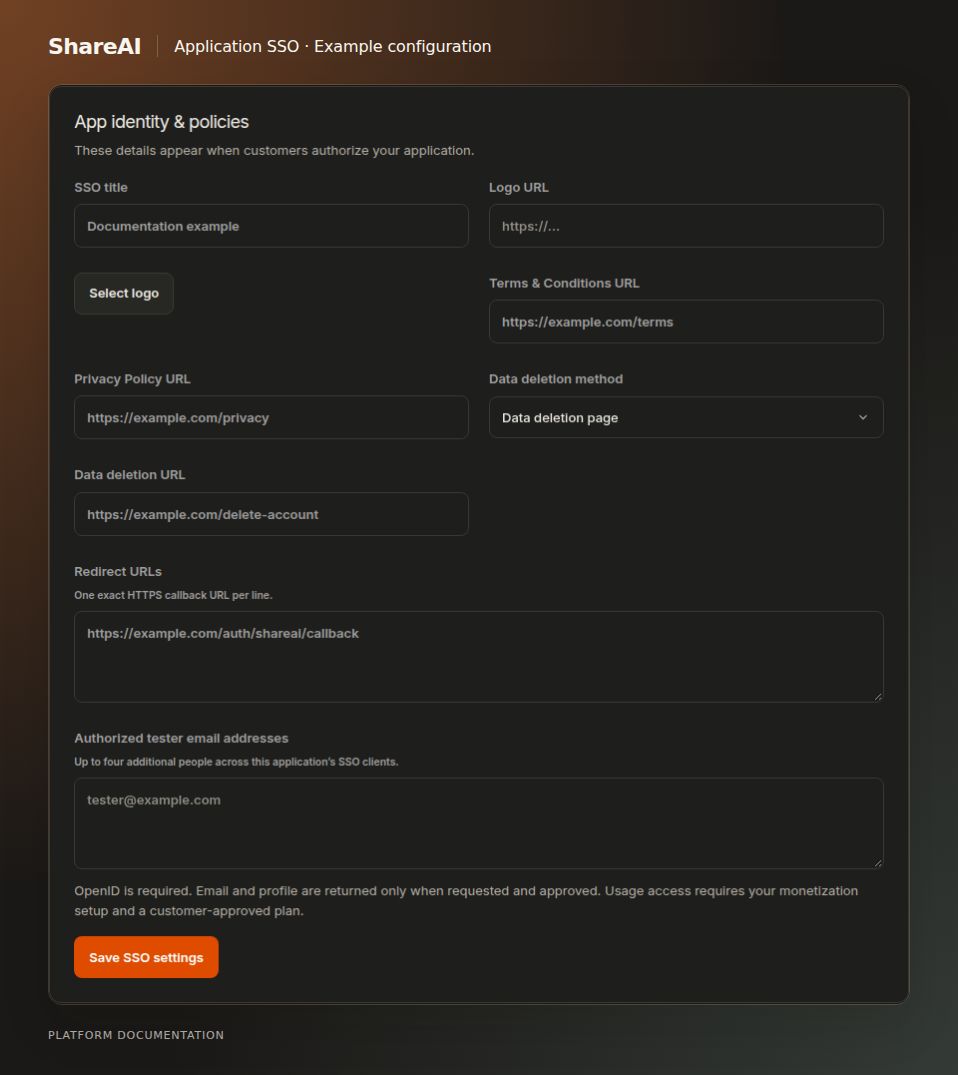
One integration, one clear client identity#
An application can group independent SSO clients where the Console workflow supports it. Credentials and client-scoped account subjects remain independent. Do not share a subject mapping from one client with another integration.
Choose the scope#
For sign-in, request openid and only the profile/email claims you need. Customer-funded inference additionally requires surcharge and the applicable accepted usage plan.
Testing access#
Use the application’s configured testers while it is unpublished. Follow the current group limits shown in Console. Testing authorizations and requests are real operations; a testing label is not a promise of free usage.
Implement on your server#
Authorization code with PKCE includes the redirect, callback checks and token exchange. Scopes explains what customers approve.
Last updated September 15, 2026